Microsoft Edge este un browser web dezvoltat de Microsoft. Acesta a fost inclus în Windows ca browser implicit care înlocuiește Internet Explorer. Este mai ușor și are mai multe caracteristici în comparație cu Internet Explorer, cum ar fi integrarea cu Cortana și citirea notelor etc.
Recent, după actualizarea sistemului de operare Windows 10, mulți utilizatori au raportat că Edge nu a reușit să pornească și s-a oprit în continuare fără solicitări. Pot exista numeroase motive pentru această problemă. Porniți soluțiile de sus și mergeți în jos.
Notă: marginea se blochează după actualizarea Fall Creators (1709) la adresa finală a articolului.
Soluția 1: Curățare Pornirea computerului
Dacă este prima dată când aveți o problemă cu Microsoft Edge, se recomandă să reporniți computerul. Dacă nu aduce nicio îmbunătățire, putem încerca pornirea curată. Această încărcare permite computerului să pornească cu un set minim de drivere și programe. Doar cele esențiale sunt activate în timp ce toate celelalte servicii sunt dezactivate.
- Apăsați Windows + R pentru a lansa aplicația Run. Tastați „ msconfig ” în caseta de dialog și apăsați Enter.

- Navigați la fila Servicii prezentă în partea de sus a ecranului. Verificați linia pe care scrie „ Ascundeți toate serviciile Microsoft ”. După ce faceți clic pe acesta, toate serviciile legate de Microsoft vor fi dezactivate, lăsând în urmă toate serviciile terților.
- Acum faceți clic pe butonul „ Dezactivați tot ” prezent în partea de jos în partea stângă a ferestrei. Toate serviciile terților vor fi dezactivate acum.
- Faceți clic pe Aplicați pentru a salva modificările și a ieși.

- Navigați acum la fila Startup și faceți clic pe opțiunea „ Open Task Manager ”. Veți fi redirecționat către managerul de sarcini unde vor fi listate toate aplicațiile / serviciile care rulează la pornirea computerului.

- Selectați fiecare serviciu unul câte unul și faceți clic pe „ Dezactivare ” în partea dreaptă jos a ferestrei.

- Acum reporniți computerul și verificați dacă Edge se lansează cu succes. Dacă da, înseamnă că a existat un program extern care a cauzat problema. Căutați printre programele instalate și determinați ce aplicație vă cauzează problemele.
Soluția 2: Dezactivarea raportului Trusteer
Trusteer Rapport este un software de securitate conceput pentru a proteja datele confidențiale de malware și phishing. Are implementate metode anti-phishing intensive și protejează utilizatorii de aproape tot felul de atacuri. Alertă imediat activitățile suspecte și se asigură întotdeauna că site-ul web este sigur înainte de a vă introduce acreditările.
Se pare că, după actualizarea Windows, Trusteer Rapport a început să intre în conflict cu Microsoft Edge. Politica sa de „Early Browser Protection” intră într-un fel în conflict cu Edge și nu îi permite să înceapă. Putem schimba politica sau dezactiva Trusteer Rapport și putem verifica dacă Edge funcționează conform așteptărilor.
- Apăsați Windows + S pentru a lansa bara de căutare a meniului dvs. de pornire și tastați „ Trusteer ”. Selectați opțiunea „ Trusteer Endpoint Protection Console ” care revine ca rezultat și deschideți-o.
- Odată ce consola este lansată, faceți clic pe săgeata verde prezentă în partea dreaptă jos a ecranului. Veți fi navigat la pagina următoare.

- Acum faceți clic pe „ Editați politica ” prezentă sub fila Politică de securitate prezentă în partea din stânga sus a ecranului.

- Acum vi se va da un captcha pentru a vă asigura că sunteți un om. Introduceți literele așa cum sunt date și apăsați Ok pentru a continua.
- Va apărea o fereastră nouă care conține toate politicile de securitate ale aplicației. Răsfoiți-le până găsiți intrarea „ Protecție timpurie a browserului ”. Faceți clic pe meniul derulant și selectați „ Niciodată ” din lista de opțiuni disponibile.

- Apăsați Salvare pentru a implementa toate modificările și a ieși. Reporniți computerul și verificați dacă Edge funcționează conform așteptărilor.
Notă: Puteți încerca să dezinstalați Trusteer Rapport dacă schimbarea politicii nu funcționează. Este recomandat să vă verificați avantajul după ce ați dezinstalat Trusteer înainte de a continua cu următoarele soluții.
Soluția 3: Rularea Verificator de fișiere de sistem
System File Checker (SFC) este un utilitar prezent în Microsoft Windows care permite utilizatorilor să-și scaneze computerele pentru a găsi fișiere corupte în sistemul lor de operare. Acest instrument există în Microsoft Windows de la Windows 98. Este un instrument foarte util pentru diagnosticarea problemei și verificarea dacă vreo problemă se datorează fișierelor corupte din Windows.
Putem încerca să rulăm SFC și să vedem dacă problema dvs. este rezolvată. Veți primi unul dintre cele trei răspunsuri atunci când rulați SFC.
- Windows nu a găsit nicio încălcare a integrității
- Windows Resource Protection a găsit fișiere corupte și le-a reparat
- Windows Resource Protection a găsit fișiere corupte, dar nu a reușit să le remedieze pe unele (sau pe toate)
- Apăsați Windows + R pentru a lansa aplicația Run. Tastați „ taskmgr ” în caseta de dialog și apăsați Enter pentru a lansa managerul de activități al computerului.
- Acum faceți clic pe opțiunea Fișier prezentă în partea din stânga sus a ferestrei și selectați „ Rulați o sarcină nouă ” din lista de opțiuni disponibile.

- Acum tastați „ powershell ” în caseta de dialog și bifați opțiunea de sub care afirmă „ Creați această sarcină cu privilegii administrative ”.

- Odată ajuns în Windows Powershell, tastați „ sfc / scannow ” și apăsați Enter . Acest proces poate dura ceva timp, deoarece întregul fișier Windows este scanat de computer și este verificat pentru faze corupte.

- Dacă întâmpinați o eroare în care Windows afirmă că a găsit o eroare, dar nu a putut să o remedieze, ar trebui să tastați „ DISM / Online / Cleanup-Image / RestoreHealth ” în PowerShell. Aceasta va descărca fișierele corupte de pe serverele de actualizare Windows și le va înlocui pe cele corupte. Rețineți că acest proces poate consuma și ceva timp în funcție de conexiunea dvs. la internet. Nu anulați în niciun stadiu și lăsați-l să ruleze.
Dacă a fost detectată o eroare și a fost remediată folosind metodele de mai sus, reporniți computerul și verificați dacă bara de activități a început să funcționeze normal.
Soluția 4: Reinstalarea Edge
If the repairing of Microsoft Edge doesn’t work, we can try reinstalling it. Since Edge is installed by default on Windows 10, it cannot be uninstalled using the conventional method we use for other applications. We have to navigate to the file location of Edge, take ownership, and deleting the folders. Then we can install Edge again using Powershell.
- Press Windows + R to launch the Run application. Type “C:\Users\%username%\AppData\Local\Packages\Microsoft.MicrosoftEdge_8wekyb3d8bbwe” in the dialogue box and press Enter to navigate to the file location.
- Once in the file location, navigate back to Packages and takeownership of the folder we just accessed. Follow the steps on how to take ownership of folders using this guide.

- Once you have ownership, you can easily delete all the folders. This will uninstall Microsoft Edge.

- Now press Windows + S to launch the search menu and type “Powershell” in the dialogue box. Right click on the first result and select Run as administrator.
- Now type the following command in the console and press Enter. The process might take a while as this command tries to install all the default applications which are present when you install a new version of Windows 10. Be patient and let the process complete.
Get-AppXPackage -AllUsers -Name Microsoft.MicrosoftEdge | Foreach {Add-AppxPackage -DisableDevelopmentMode -Register "$($_.InstallLocation)\AppXManifest.xml" -Verbose}
- Now restart your computer and check if Microsoft Edge works.
Solution 4: Changing the Group Policy (Post 1709 Update)
The solutions listed below are written for post-1709 (Creators Fall Update) which caused a lot of problems for edge users.
Another aspect that seems to conflict with the Edge browser was the GPO settings regarding “Allow extensions”. It seems that after the update, this setting is not configured properly and causes Edge to crash randomly. We can try editing the policy and check if this fixes anything.
- Press Windows + R to launch the Run application. Type “gpedit.msc” in the dialogue box and press Enter.
- Once in the Group Policy Editor, navigate to the following path:
Computer Configuration > Administrative Templates > Windows Components > Microsoft Edge
- Look for the policy named “Allow Extensions” present at the right side of the window. Double-click it to change its settings.

- Change the policy setting to “Not Configured”. Press Ok to save changes and restart your computer. Check if Edge started working as expected.

Solution 5: Editing the Registry (Post 1709 Update)
Another workaround for the same problem (Allow extensions) is to edit the registry. This solution is recommended for users who don’t have GPE installed on their machines. This will perform the same functionality as the previous solution. However, you can still give it a shot of the previous one didn’t work.
- Press Windows + R to launch the Run application. Type “regedit” in the dialogue box and press Enter.
- Once in the registry editor, navigate to the following file path:
HKEY_LOCAL_MACHINE\SOFTWARE\Policies\Microsoft\MicrosoftEdge\Extensions
- At the right side of the screen, you will see an entry “Extensions Enabled” with the DWORD value most probably “00000000”. Double-click it and change its value to “1”.
You can even delete the registry value after backing it up by right-clicking the “MicrosoftEdge” folder (at the navigation panel at the left side of the window) and selecting “Export”. This way you can always revert changes if things don’t go as expected.

- Restart your computer after applying the changes and check if this solves the problem at hand.
Solution 6: Adding a Registry Key using Command Prompt (Elevated) (Post 1709 Update)
If all the above solutions don’t work, we can try adding a key using an elevated command prompt into your registry. Do note that this process requires administrator account so don’t try executing it in a limited one. We will add a registry key to users in this method. Make sure to backup or create a restore point before attempting this method. If things don’t work out, you can easily restore the previously saved session of your OS.
- Press Windows + S to launch the Search bar. Type “command prompt” in the dialogue box, right-click on the result and select “Run as administrator”.
- Once at the command prompt, execute the following instruction:
reg add “HKCU\Software\Microsoft\Internet Explorer\Spartan” /v RAC_LaunchFlags /t REG_DWORD /d 1 /f

- Restart your computer and check if the problem got solved.
Solution 7: Resetting Edge Settings
Another thing to try before we move on to more technical and tedious solutions is resetting Edge settings completely. There are numerous instances where because of some minor problems or technicalities, Edge doesn’t open as expected.
The settings are mostly internal and get initialized automatically. These settings may sometimes have some bad configurations which might be conflicting internally. You can easily reset Edge settings using the steps below:
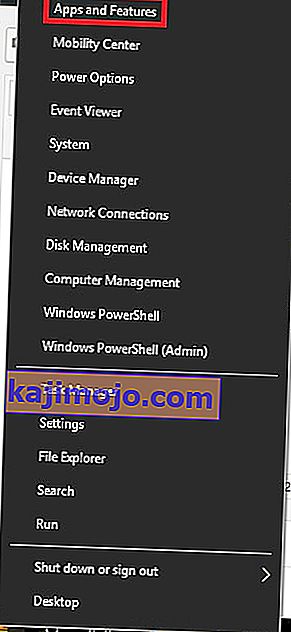
- Right-click on the Start menu and then select Apps and Features.
- Now, click on Microsoft Edge and then select Advanced options.
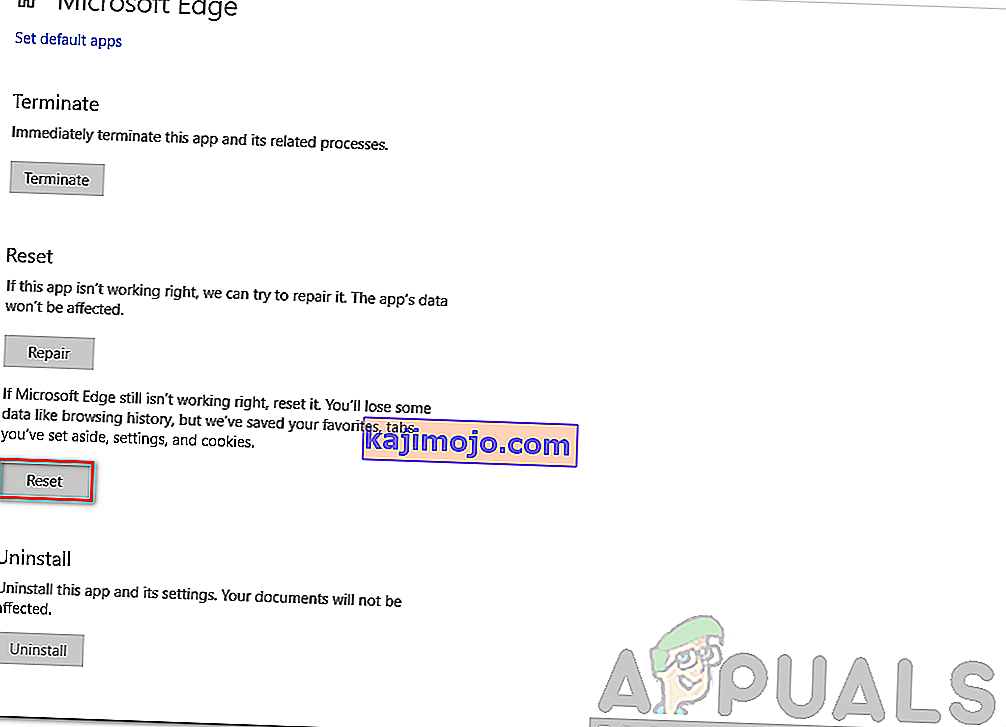
- Click on Reset.
- Restart your computer completely and then check if the issue is resolved for good.


Solution 8: Power-cycling your Computer
Another thing to try is power cycling your computer completely. Power cycling is an act in which you completely restart your computer by removing the power cord as well. This will remove all the temporary settings that your operating system has stored and will reinitialize them. If Edge is not opening because of this, it will be fixed.

Save all your work and shut down your computer. Now, take out the power cord from your PC or the battery from your laptop. Press and hold the power button for about 15 seconds before starting your computer again and checking if the issue is resolved and you can use Edge properly.
Solution 9: Creating a new User Account
Another thing which we can try is creating a new user account in your computer. Every Microsoft service is connected to the account you are accessing it with. Its configurations and preferences are bound to the local account. Here, if you have issues with your user account, it can cause Edge not to start as expected.
After creating a new user account, restart your computer and log into it and check if Edge works properly.
Solution 10: Reinstall Windows
If none of the above methods work, we can consider reinstalling Windows completely. Edge is pre-installed in Windows and when you reinstall it, everything gets refreshed and gets reinitialized as well. This will erase all your System drive files so make sure you backup all your preferences and other data before proceeding.
After repair installing Windows, log into your new account and enjoy Edge. You can restore your data back after you verify that Edge is working as expected.